
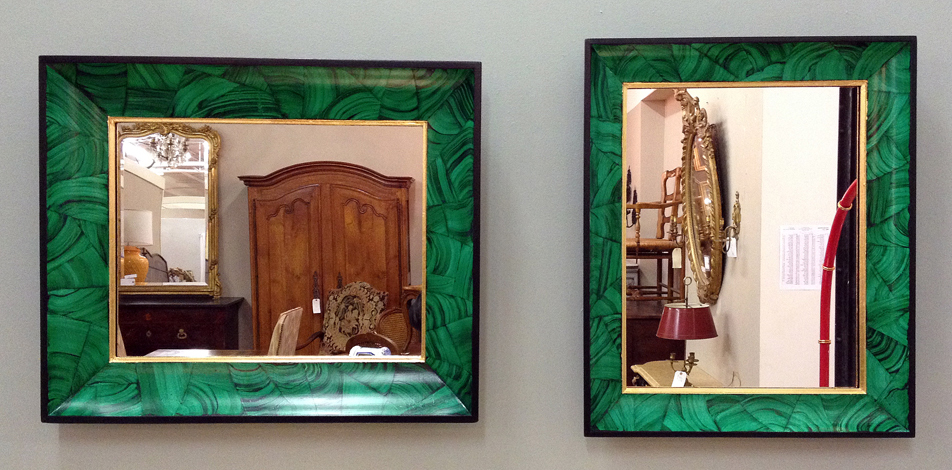
Faux Malachite Mirrors on Display
I’d been eyeing some old, concaved picture frames for a while and decided they were good candidates for a faux malachite treatment. Well, they were and they weren’t – but I got there in the end.
Here’s how it went:
Unfortunately, I didn’t take a photo of them before the first few steps but imagine some kind of softish wood, no knots. Not sure what it is.
First I sanded and primed fronts and backs. Then I base coated the inside curve where I wanted the malachite treatment. I used an acrylic mixed to a vibrant aqua.
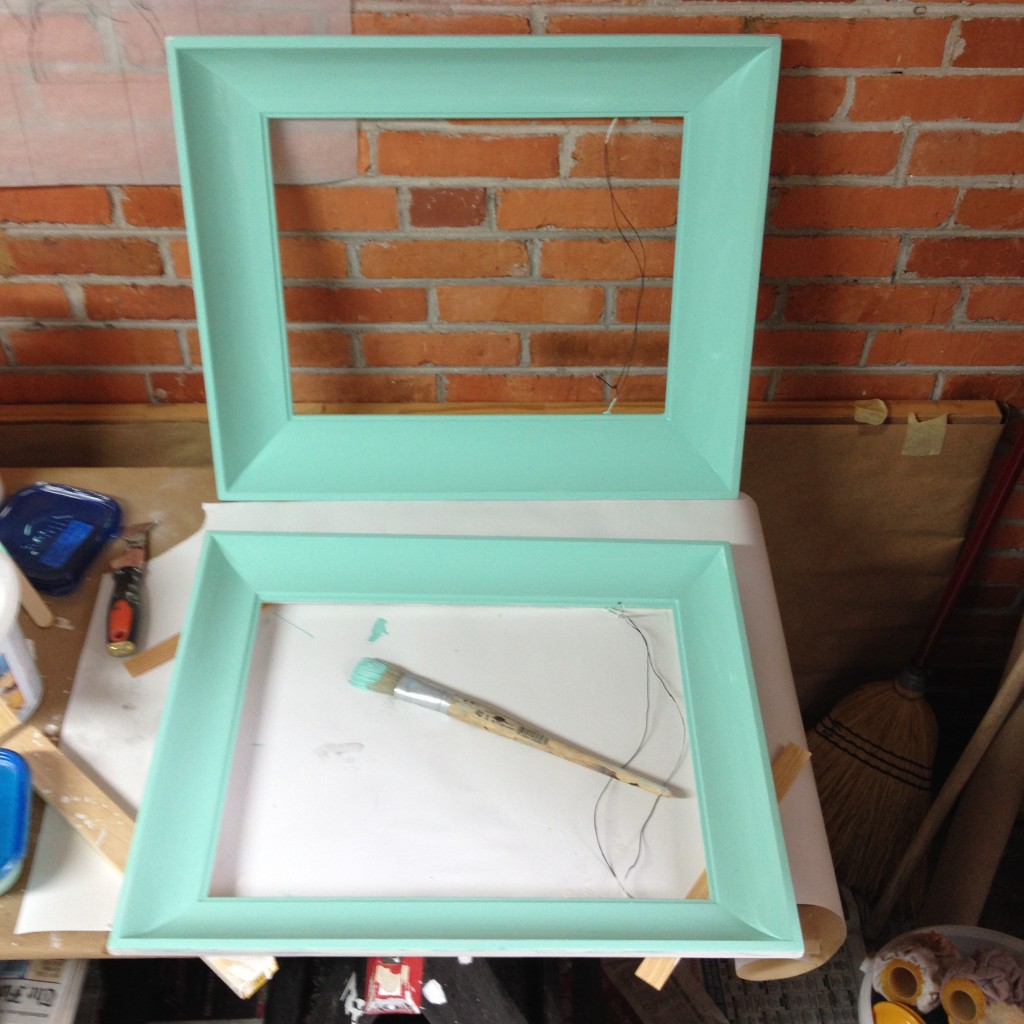
- Aqua base for malachite

Straightforward so far.
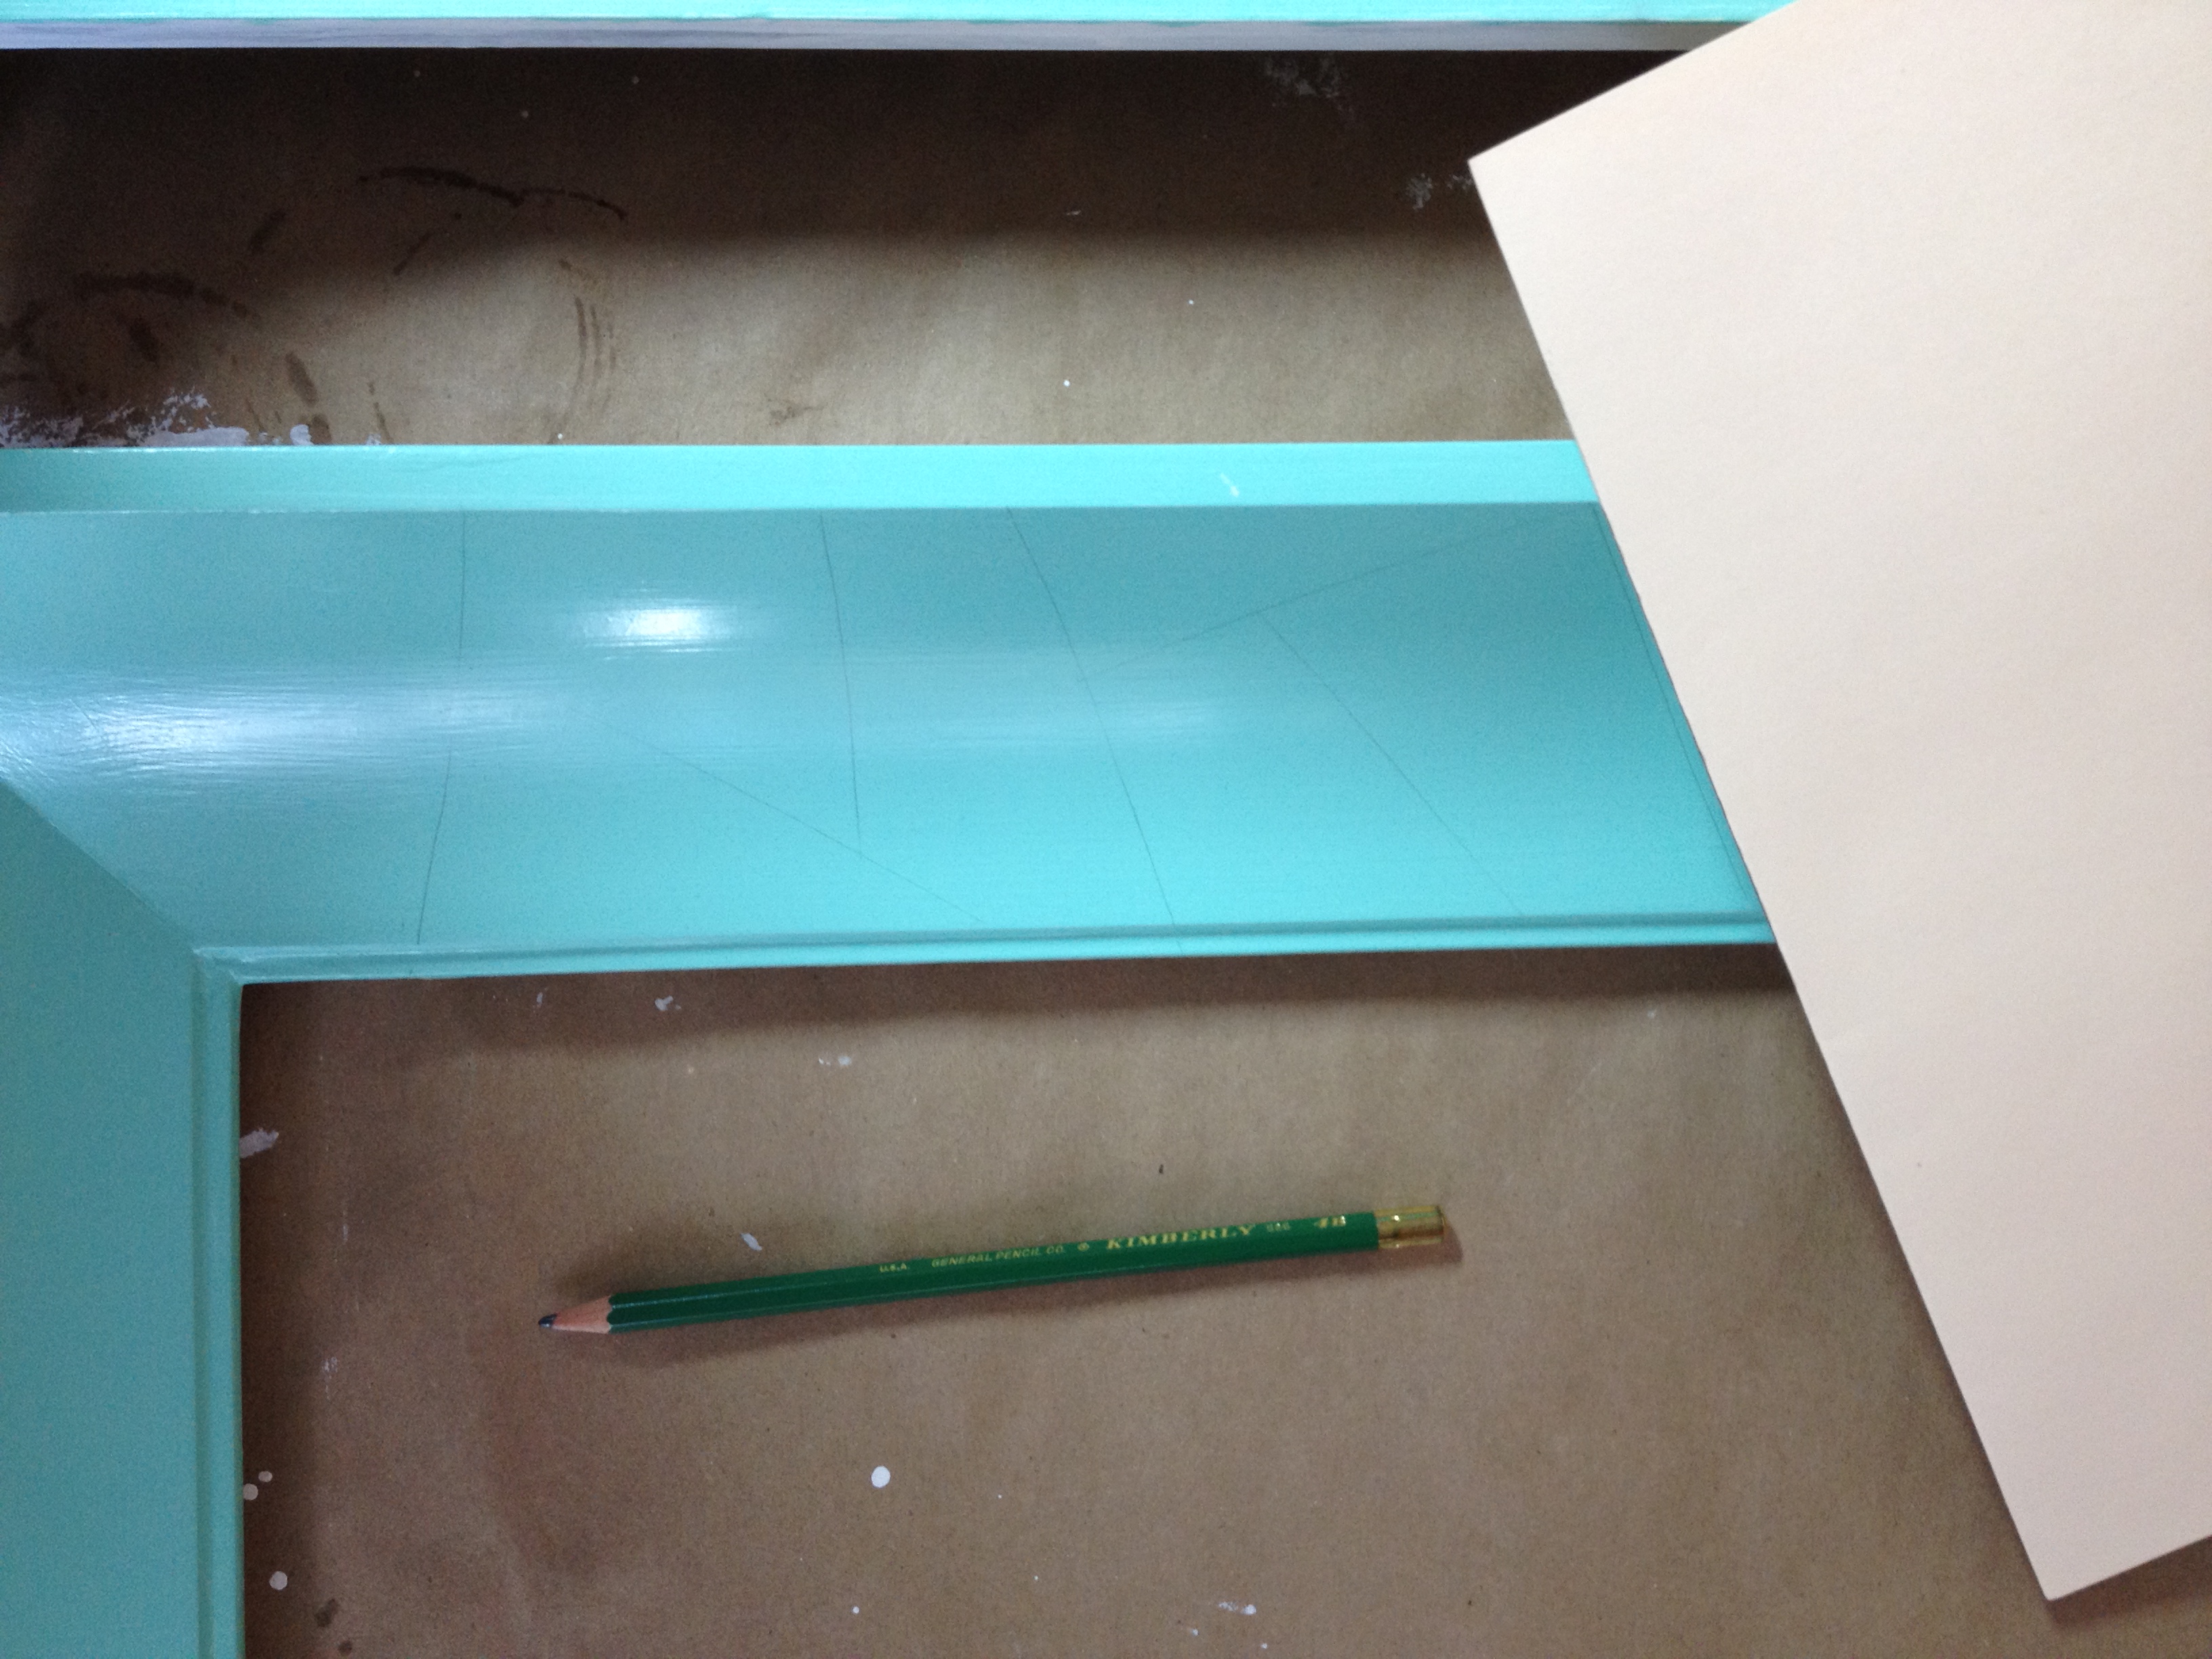
I then divided the concave surfaces with lines to represent each small malachite piece. I used thin card as my bendable straight edge so I could mark the concave areas.
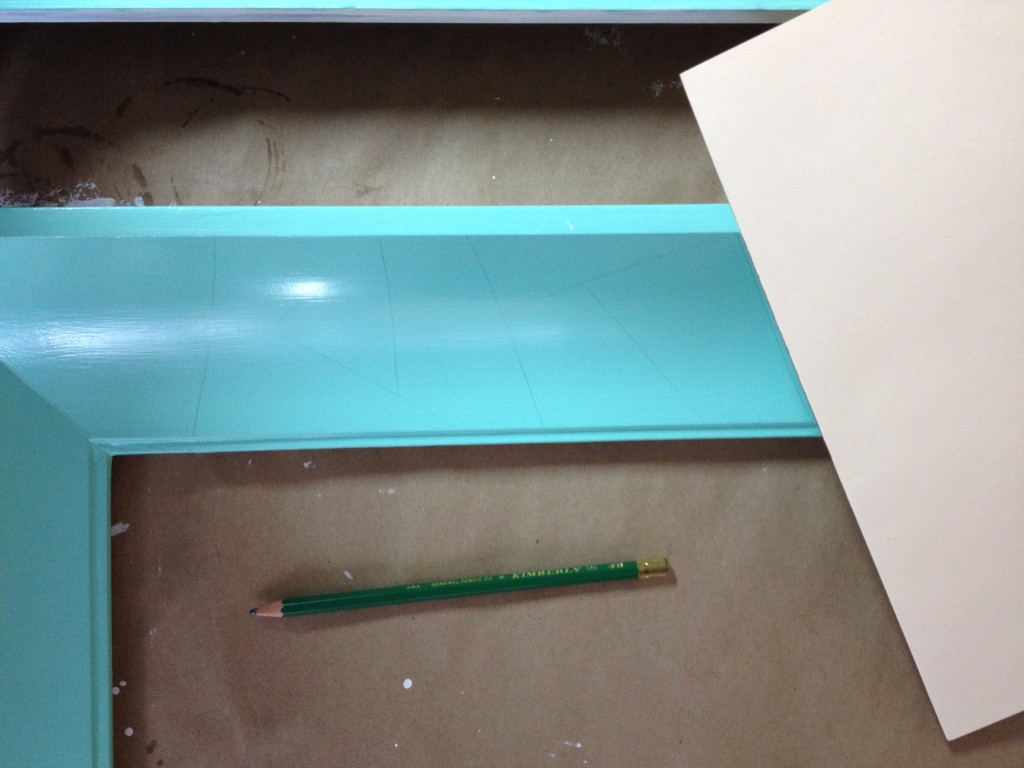
- Lines marked for malachite sections
Then, the taping process: Each frame took 4 tape sessions since you can’t work on adjacent sections in a single pass. And, you must wait long enough between passes be sure your glaze is well cured before you tape out the next pass sections or you will lift your prior glaze. Not nice.
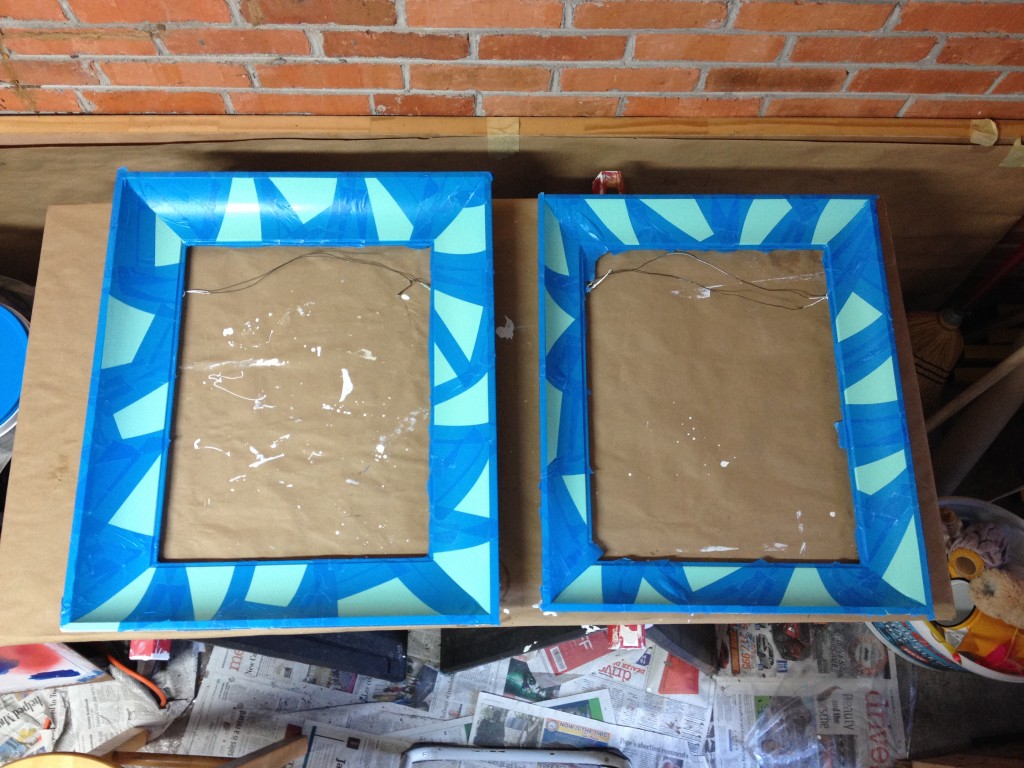
- Taping out sections for malachite

Now the fun part: As is typical with a faux malachite treatment, I applied a dark green glaze –
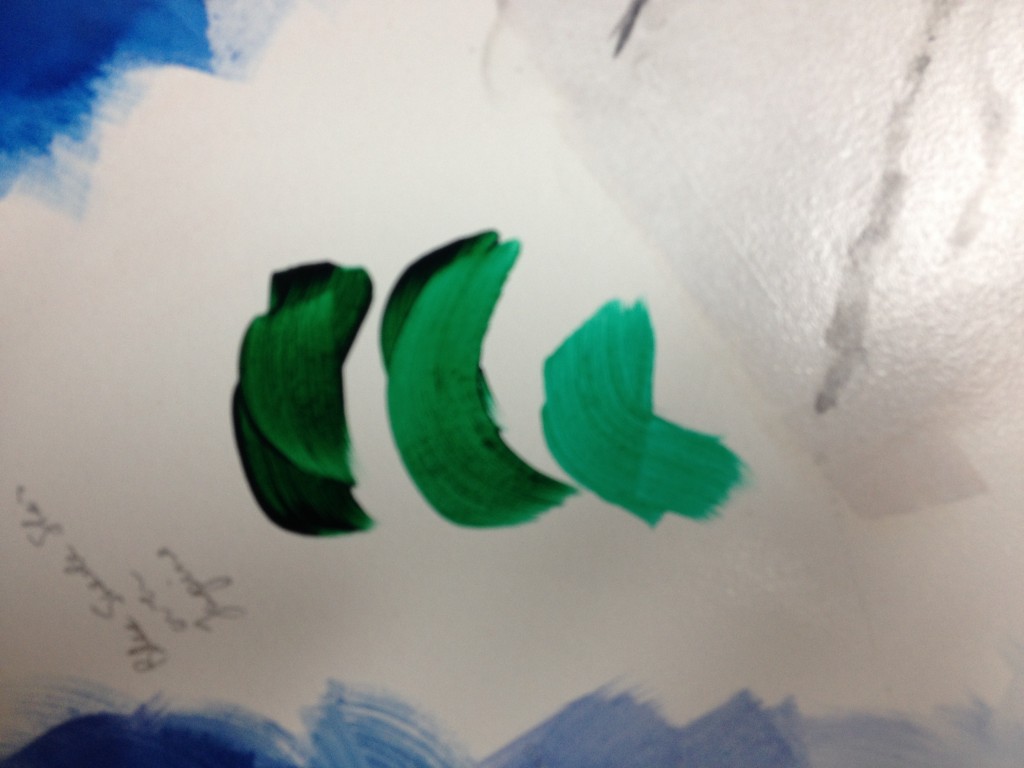
- Testing glaze colors – I chose the darkest on far left

using torn cardboard (shirt-box type) –

- Samples of torn cardboard for mark making

to squiggle and lift the glaze in order to imitate the malachite formation.
Here’s where it got challenging – the inside curves of my surface made it difficult to get the right kind of marks. With a little practice and some wipe off and restarts I got it done. But I wasn’t able to have the control or variety of mark-making I would have had on a flat surface.
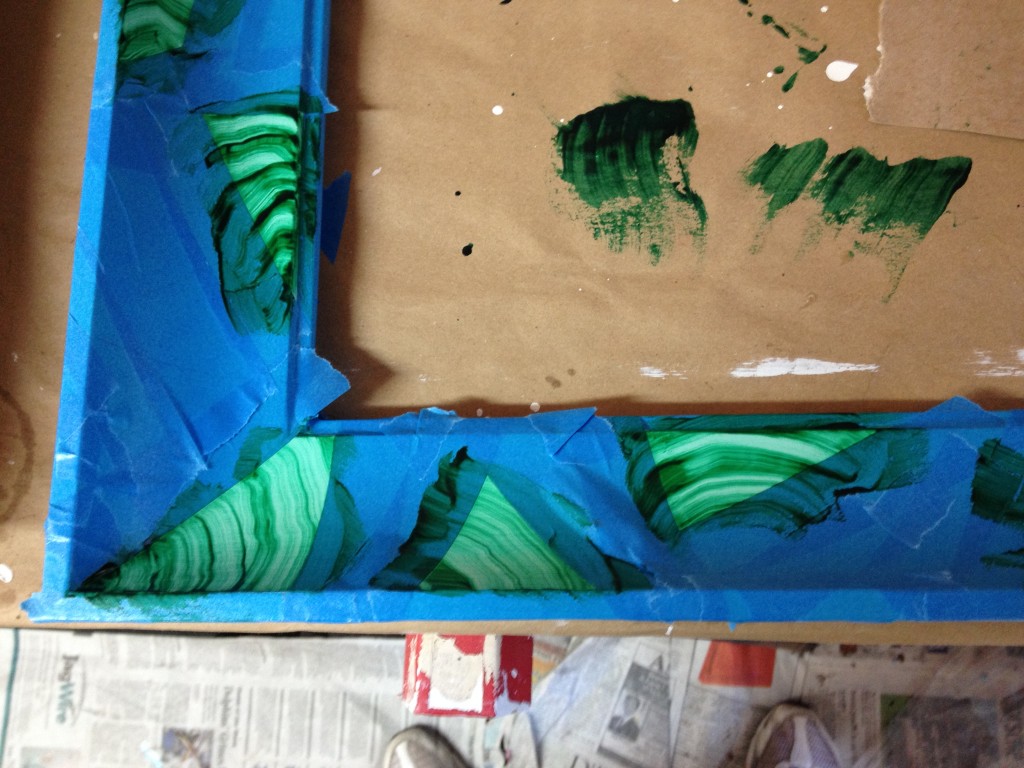
- Close up of glaze marks

Note to self – concave curves are not the easiest surface for faux malachite.

- Before final glazes
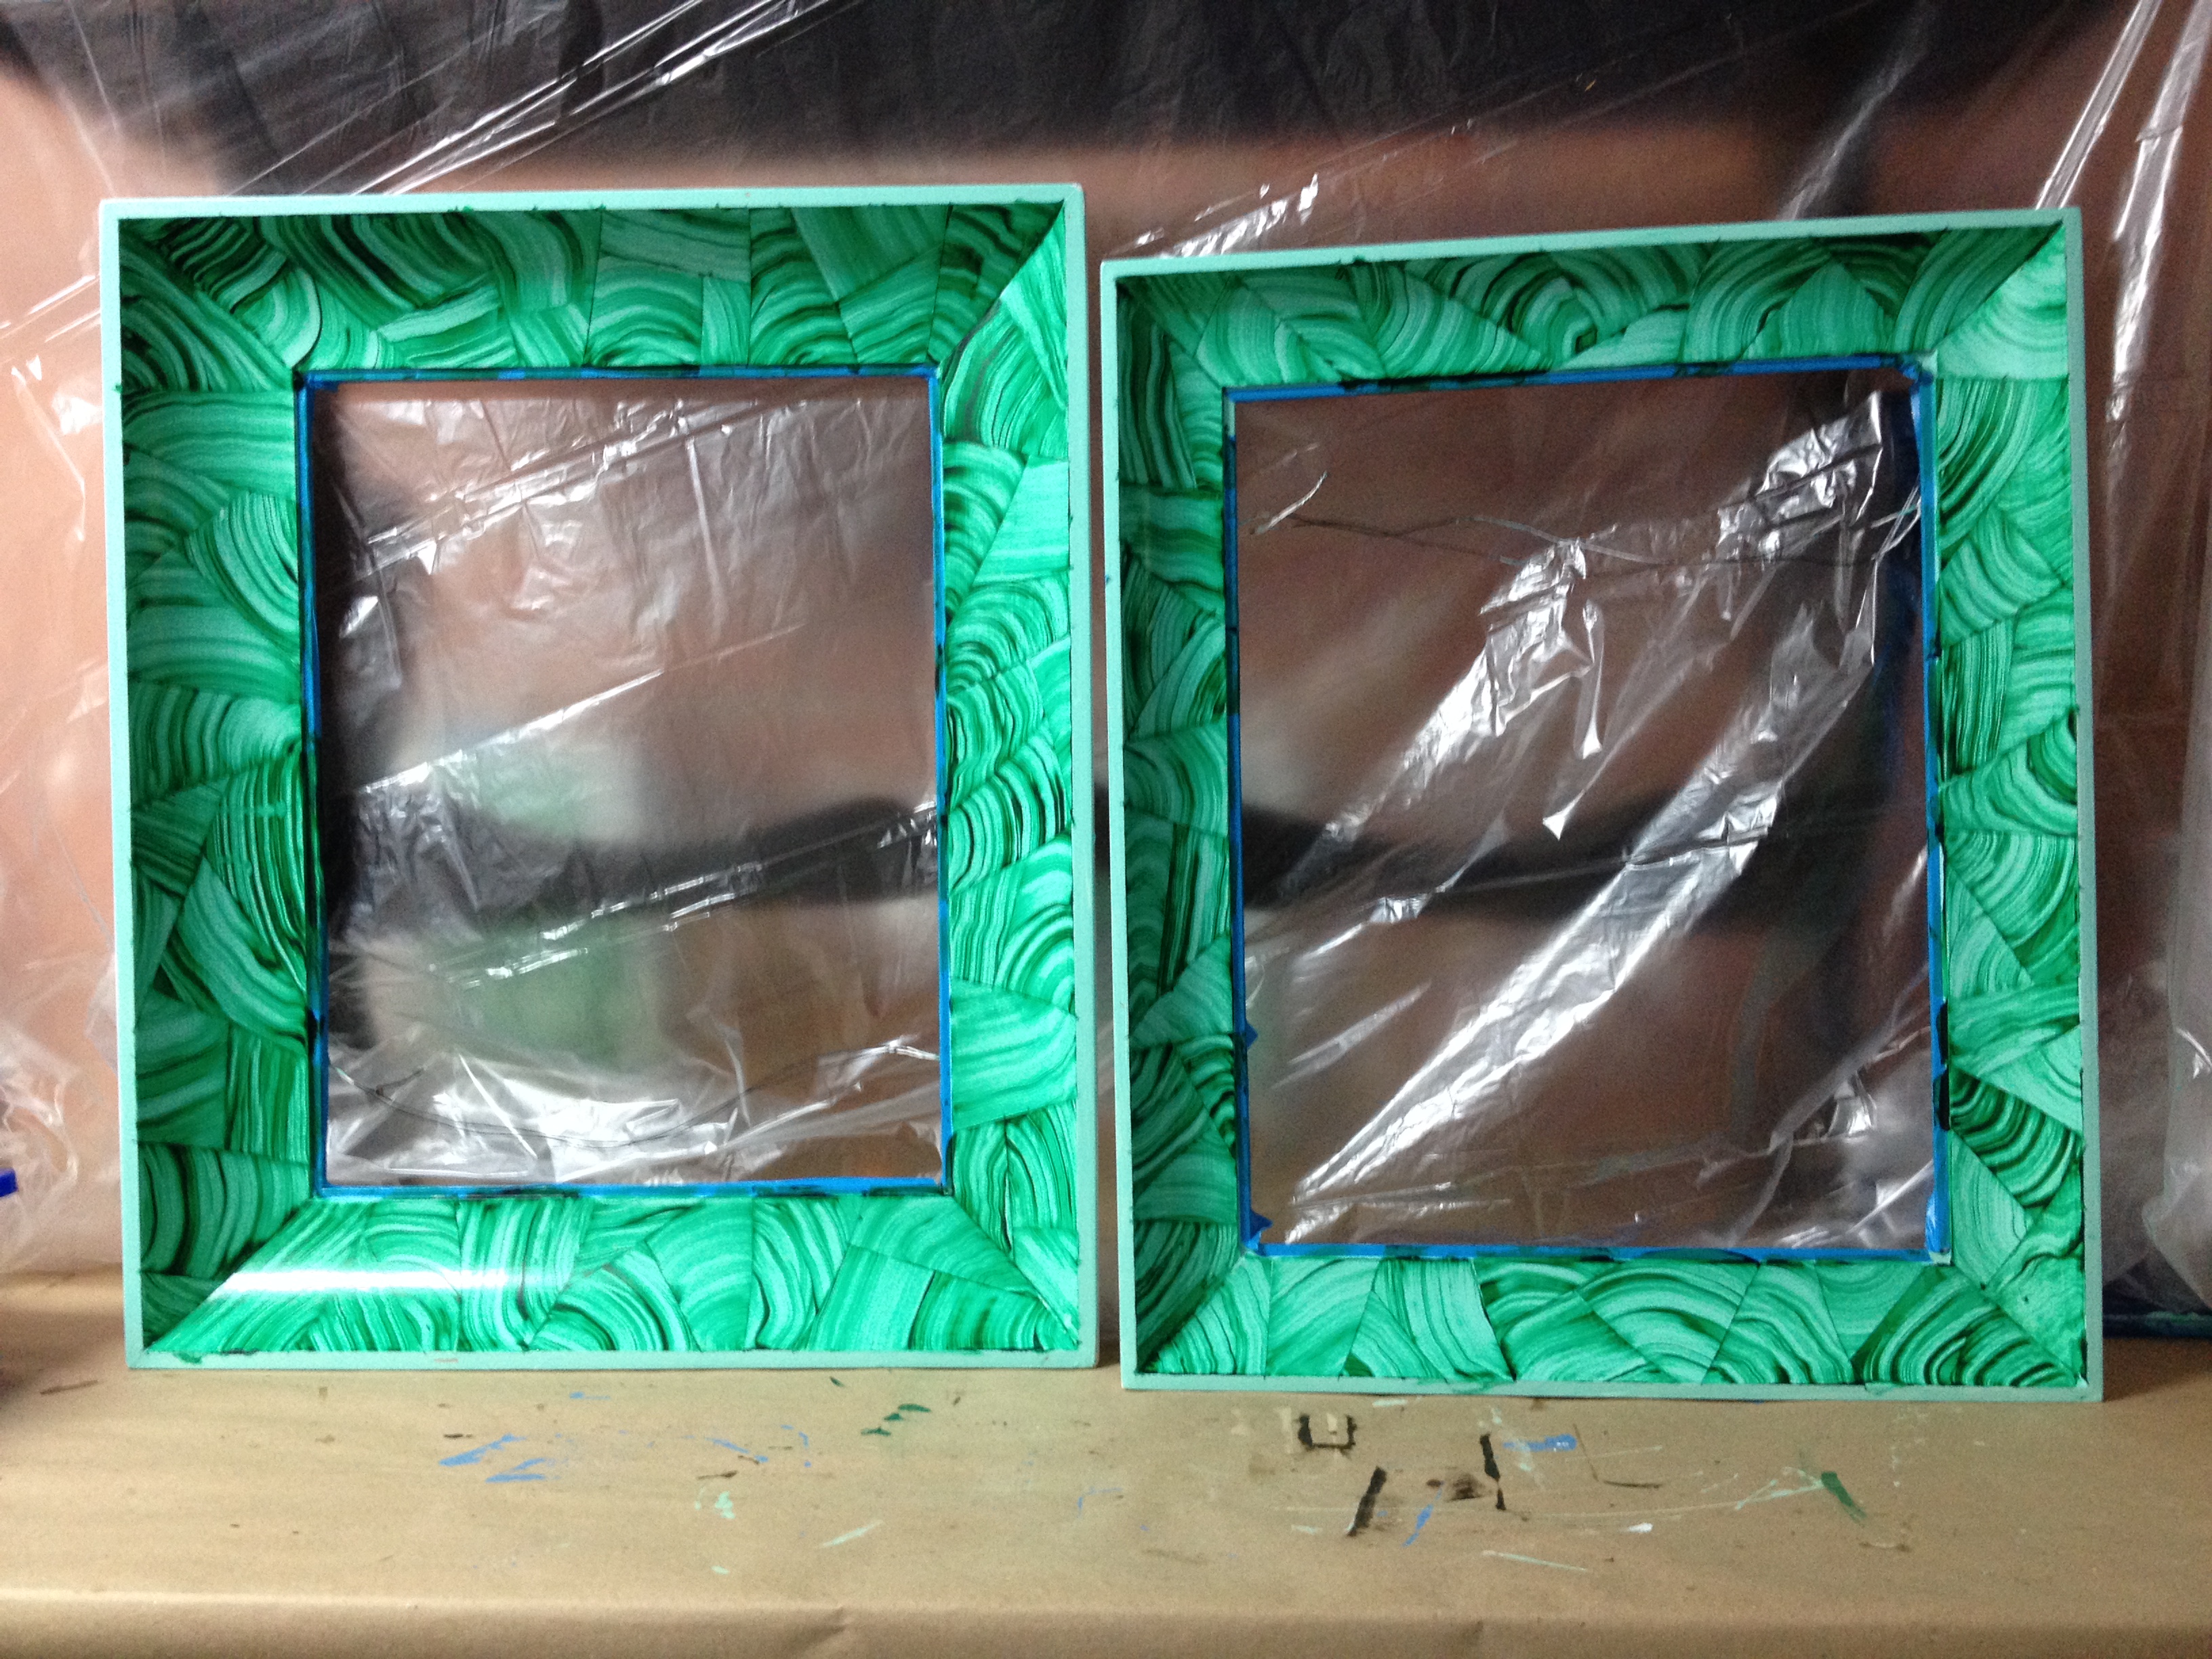
The results were remarkably close to my research images of real malachite, but I felt the effect too busy for most home decor. So I over-glazed the surface with several washes of the dark green glaze, careful to follow the direction of the marks.
Once all the taping and glazing was complete, I taped off the malachite and painted the exterior surfaces a dark green matching the glaze. Finally, I painted the inside rim bright red and applied imitation gold leaf and an MSA varnish to prevent tarnish. Then topcoated with a clear gloss.

- Final glazes and red rim

They now hang in my retail booth at the Avonlea Antiques Mall in Jacksonville, Florida – waiting for their forever home.